
Gel nails are a great way to enhance the appearance and give oneself that extra polish one wants. They are also durable and long-lasting, so once one applies them, they do not have to worry about chipping or breaking for weeks. This article discusses what gel nails are, the different types available and how professionals use them as well as at-home users for the perfect set of nails.
Several Brands Like Kiss Nails Produce Classy Ranges For People To Choose Their Favourite:
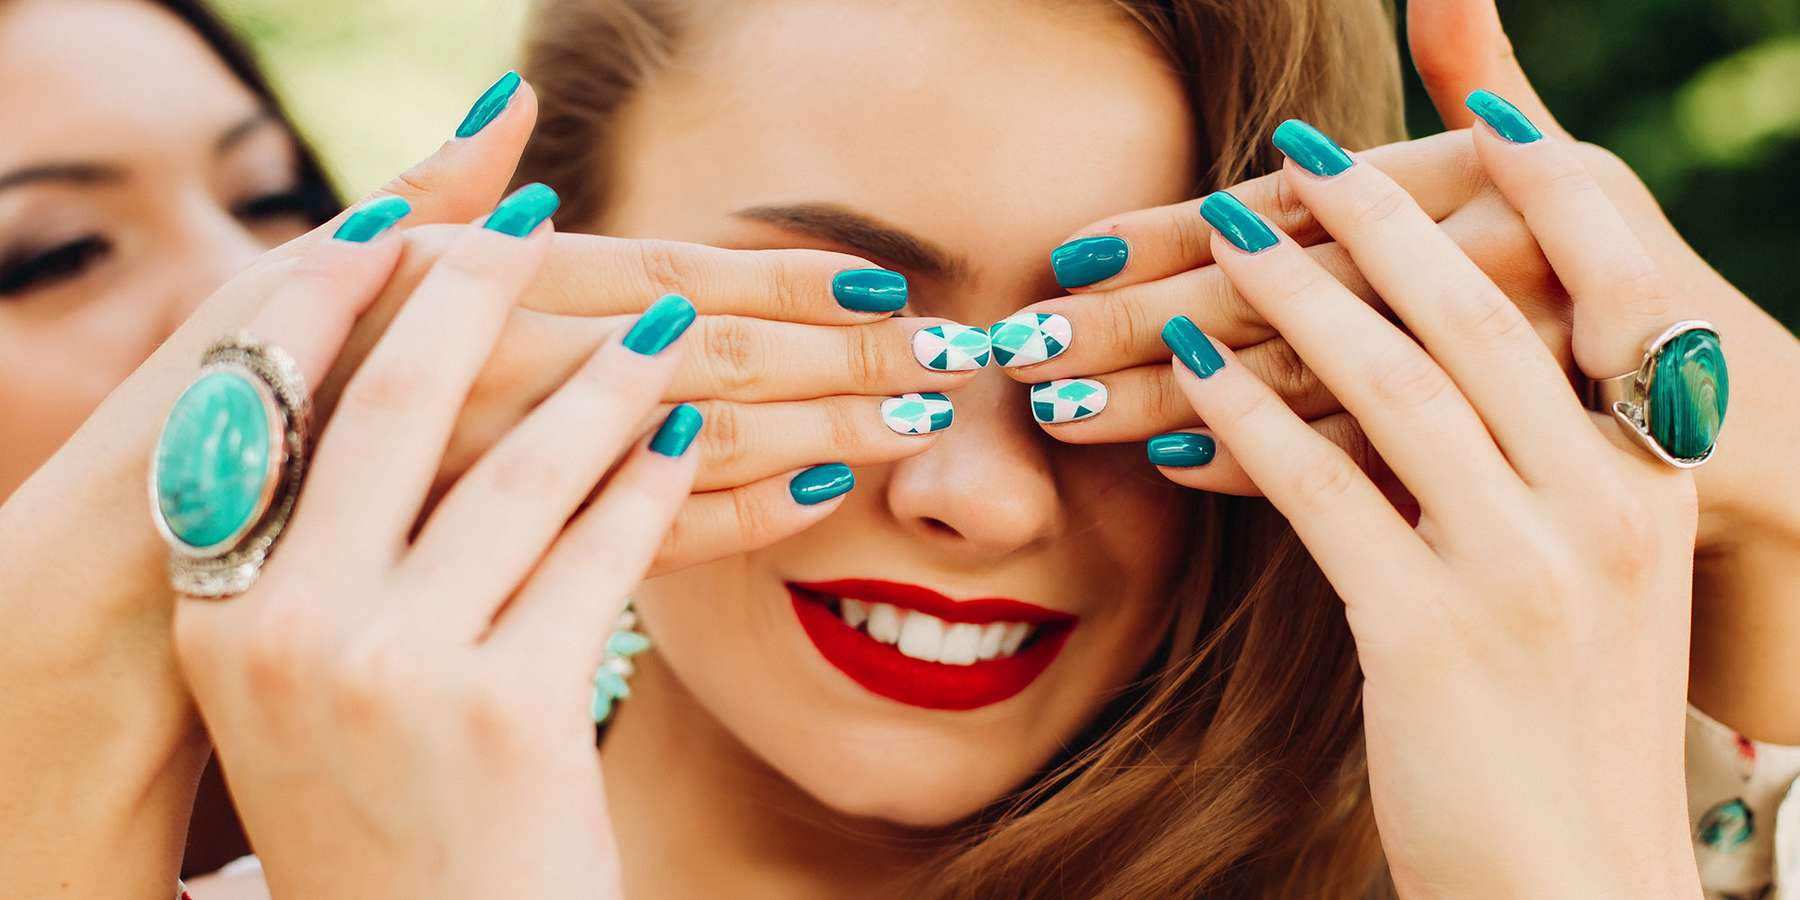
Types of Gel
Gel nail kits come in many different brands and price ranges. The difference between the brands is the consistency of their gel (thickness) and colour range. One can seal gel nails with a special UV light which dries them out and makes them last longer.
1. Maintenance of Gel Nails:
Gel nails are far more durable than acrylics and therefore require less maintenance. As a result of their durability, they last much longer than traditional acrylics. One can wear gel nails for up to three weeks without having to be removed and reapplied by a professional.
Gel nails are also more resistant to chipping or breaking than traditional manicures. This chipping may be because when applied correctly, one should not thin them as much as regular nail polish, allowing them to maintain their integrity better over time.
However, these products require more work on an individual’s part when it comes time for removal. Using acetone nail polish remover (instead of regular polish remover) will result in less damage but takes longer than other methods, such as filing off the top layer of the existing artificial nails manually.
2. Removal of Gel Nails:
One can remove gel nails in several ways. The most common is an acetone soak, which will dissolve the gel polish and allow one to remove it altogether. One can also file down their nails if they are going for a different look or have grown tired of the colour. Do this at home or by a professional in a salon setting.
If one wants something less harsh than soaking off their gel manicure, ask a nail technician whether they offer soapy water removal services. These tend to be more gentle on the natural nail while still being enough to meet all needs! Brands like Kiss Nails make it easy for customers to apply gel nails at home without difficulty and confusion.
3. Time Taken For Application:
The time taken for gel application is a lot more than for acrylics. However, one can take time and effort to get the job done quickly. One must be patient when applying gel nails because rushing makes it much more likely to make mistakes and ruin the nails.
To cure the gels properly, they must be put under UV lamps for about two minutes on each side before buffing them with a file and then using an electric buffer to smooth them down so that they are completely flat on the natural nail bed. If any bumps or ridges are left after curing, they can cause issues when painting over them later on in the process; ensuring everything is nice and flat is essential when doing a manicure at home!
Gel Application: Cleansing, Sculpting, Buffing & Polishing
Before starting, the first step is to cleanse the hands and nails. It helps get rid of any dirt or grime that may be on them. The second step is sculpting the nails with a nail file or buffer to create the desired shape.
Buffing finishes this process by smoothing rough edges and creating a smooth base for the gel polish application. Finally, the polish can be applied using a brush or airbrush system.